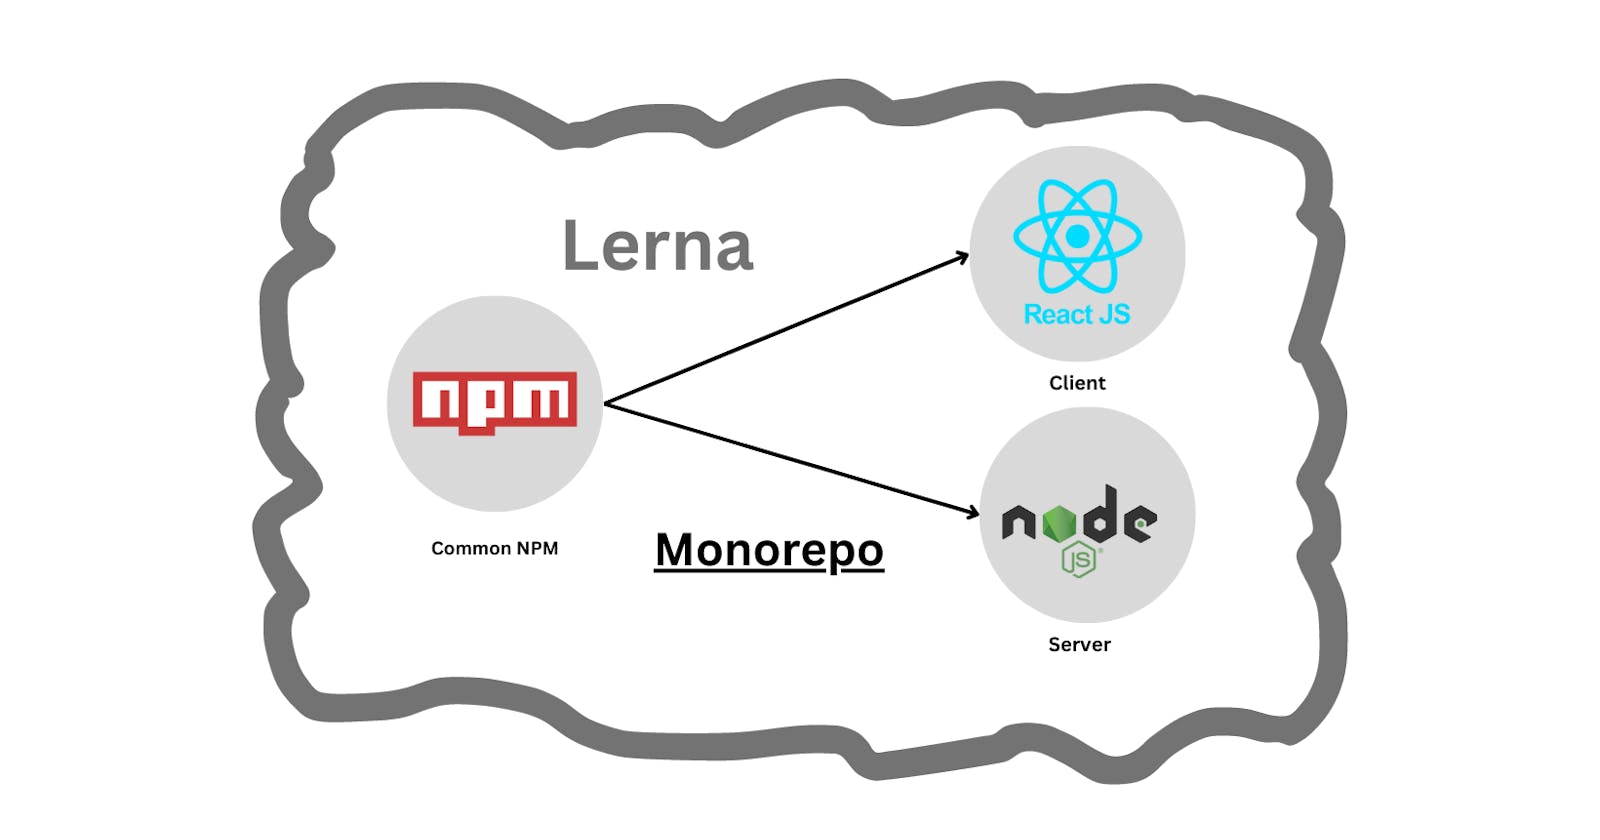
What is monorepo?
Monorepo is an architectural concept for managing your code. The main purpose of monorepo architecture is to maintain a single codebase for multiple dependent or independent projects.
Advantages of Monorepo:
Easy code sharing: All of the code is in a single repository, so it is easy for developers to share code and collaborate on projects.
Efficient dependency management: All of the dependencies are in the same place, so it is easier to manage them and avoid conflicts.
Single build: The entire project can be built in a single step, which can save time and resources.
Better code navigation: It is easier to navigate the code because all of it is in a single place. This can help developers to find the code they need more quickly.
Improved visibility: Everyone can see everyone else's code, which can help to improve communication and collaboration.
Simplified testing: Tests can be run on the entire project at once, which can help to improve the quality of the code.
Centralized version control: All of the code is under version control, which can help to track changes and ensure that everyone is working on the same version of the code.
What is Lerna ?
Monorepos lets you develop multiple packages in the same repository, which is fantastic for productivity. You can share code, establish clear ownership, and have fast unified CI. That is why more and more teams are switching to this way of development.
To use monorepos well, you need a good monorepo tool, and Lerna is exactly that. Lerna is fast, widely used, and battle-tested.
Why Lerna ?
Easy code sharing: Lerna makes it easy to share code between different projects in your monorepo.
Efficient dependency management: Lerna helps you to manage the dependencies between your projects. This can help to avoid conflicts and ensure that your code is always up-to-date.
Super Fast: Lerna is fast, even faster than most comparable solutions out there. Under the hood, Lerna v6+ uses Nx to run tasks. Learn more about running tasks here.
Computation Caching - Lerna knows when the task you are about to run has been executed in the past. Instead of running it, Lerna will restore the files and replay the terminal output instantly.
Single build: Lerna can be used to build all of your projects in a single step.
Simplified testing: Lerna can be used to run tests on all of your projects in a single step.
Publishing to NPM Lerna is the ultimate tool for publishing multiple packages to npm.
Lerna with javascript projects
Lerna is the original monorepo tool for JavaScript/TypeScript. It has been around for many years and is used by tens of thousands of projects, including React and Jest.
As per documentation It solves two of the biggest problems of JavaScript/TypeScript monorepos:
Lerna runs a command against any number of projects, and it does it most efficiently, in the right order, and with the possibility to distribute that on multiple machines.
Lerna manages your publishing process, from version management to publishing to NPM, and it provides a variety of options to make sure any workflow can be accommodated.
Lerna project setup:
We will setup a React and Node project using lerna. Where our front-end and back-end application will share the common repository also use only one node_modules centrally.
Create a project folder and install lerna.
mkdir lerna-demo
cd lerna-demo
npm i -D lerna @lerna/bootstrap
We have installed Lerna in our directory, Now let's initiate lerna in our project
npx lerna init --packages="packages/*"
After initiating lerna in our project. We will see a new file lerna.json created
lerna.js
{
  "$schema": "node_modules/lerna/schemas/lerna-schema.json",
  "version": "0.0.0",
  "packages": [
    "packages/*"
  ]
}
Let's create our new packages directory to contain our server and client projects
So, Our file structure should look like,
Lerna-Demo- node_modules- packages- .gitignore- lerna.json- package-lock.json- package.json
Now we will create a React application inside our packages directory.
cd packages
npx create-react-app client
let's create a server for our projects using node and express.
mkdir server
npm init --yes
let's create a file called index.js in our server directory
index.js
var express = require('express');
var app = express();

app.get('/', function (req, res) {
  res.send('Hello World!');
});

app.listen(3000, function () {
  console.log('Example app listening on port 3000!');
});
we need to install express in our server.
npm install express --save
let's update our server/package.json to add a script to start our server
server/package.json
{
    "scripts": {
        ...
        "start": "node index.js",
     },
}
Finally, both of our client and server are ready to serve we can check them by running npm run start
If both of our repositories is working fine, We need to convert them as a monorepo instead of polyrepo. If you look carefully into our client and server repo. You will see both repos has its node_modules. We need to remove them and use the central node_modules or common node_modules.
Let's clean with lerna. Which will remove all node_modules in different repositories.
npx lerna clean -y
We have removed our node_modules for both client and server. Now we need to install node packages in our root folder so that our client and server can use the common node_modules.
npx lerna bootstrap --hoist
It will install all of our packages.
Now we can run our server and client application just using a single command
npx lerna run start
Now our code is running!
Note: We can install lerna globally, SO that everytime we don't need to write npx prefix .
